- Features
- Description
- Similar Items
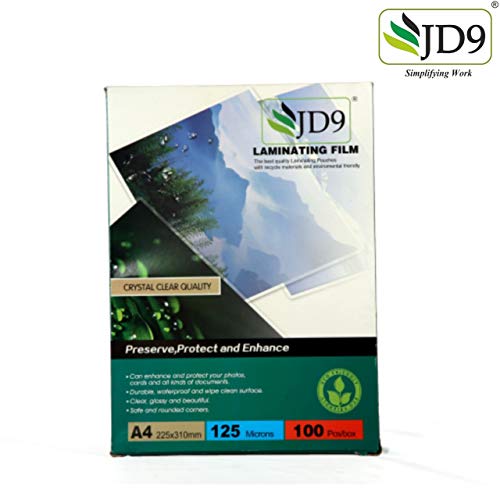
EVERYDAY LAMINATING: 125 Microns Thickness JD9 Lamination pouches offer basic document protection for everyday laminating uses. Recommended for your child's artwork, labeling, document organization, certificates, and reference materials.
QUALITY: JD9 offers premium quality Lamination pouches - Made up of High Glossy transparent sheet with premium quality heat melting glue to protect all your important documents from dust and water and provides excellent clarity and durability.
COMPATIBILITY: Works with all leading laminators; simply place document in pouch and insert into laminator.
PROTECTS: Laminated pouches keep documents safe from stains, spills and dust. Perfect for long term storage and display of documents.
LAMINATING SHEETS: Includes 100 thermal laminating sheets. These pouches accommodate Letter A4 size (210x297) documents, diplomas and trimmed photos and cards.Pack of 1 (100 PCS)
Binding:
Office ProductBrand:
JD9EAN:
Label:
SHYAM ENTERPRISESManufacturer:
SHYAM ENTERPRISESModel:
Size:
A4 (225 X 310 MM)Warranty:
JD9 Laminating Pouches are perfect for laminating letter-sized documents such as certificates, menus, office documents and children's artwork. Made to be used with a thermal pouch laminator, these pouches create a clear, smooth, bubble-free seal around your documents
Laminating with any Laminator can be fast and easy, let us show you how:
Step 1:
Make sure your machine is warm and ready to go.
- The on/off button can be found either as a toggle switch on the back or a push button on the top
- Choose your Temperature, depending on the thickness of the pouch you are working with: ideally around 120 degrees for 125 microns lamination film.
- Warm up times can take between 1-6 minutes depending on your machine, your machine is warm enough to start laminating once the ready light illuminates.
- If your machine has a feeding tray, ensure it is extended in the ready position
Step 2:
Place your project inside the laminating pouch.
- Center your item inside the pouch checking that you leave laminate margin on every side for best sealing results
- Have some fun with it by stacking multiple layers of colorful paper, confetti or lettering on top of one another
Step 3:
Place the Sealed End of the pouch into the machine, with the open end following behind.
- Check to make sure the pouch lines up to the opening to prevent an uneven or angled feed through
- Remove any objects that could get in the way of your project as it feeds out of the machine
Step 4:
Let the laminator do its thing!
- Avoid pulling or obstructing the pouch as it feeds through the laminator
- Your project will be hot when it exits the machine so use caution
Helpful tip: Cut/trim pouches only AFTER feeding through the machine


